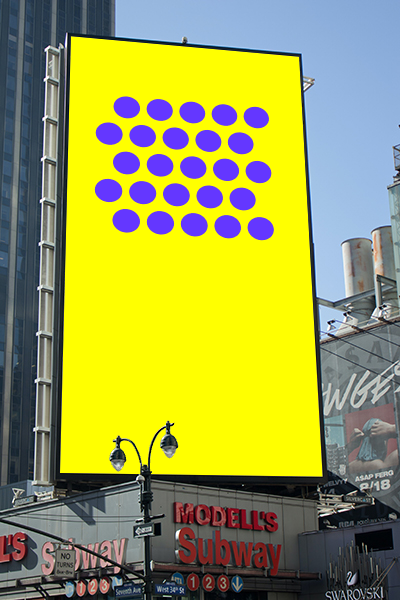
Corner Pin
Intro
The Corner Pin deforms a Shape and can be used to create the illusion of 3d perspective.

UI
Bind - When checked, the Shape is deformed depending on the position of the Nulls. When unchecked, its Size can be adjusted.
Size - Set the dimensions of the Corner Pin Shape. This can be used as a guide
Top Left - Connect a transform (defaults to a Null).
Top Right - Connect a transform (defaults to a Null).
Bottom Left - Connect a transform (defaults to a Null).
Bottom Right - Connect a transform (defaults to a Null).
Bind Selected Shape (button) - Move each corner to the bounding box of the first selected Shape and Bind it to the Corner Pin.
Example
- Create a second Composition (Composition 2).
- Double click Composition 2 in the Assets Window to load it into the Scene Window.
- Set its Resolution to 600 x 800px via the Composition Settings.
- Add some Shapes to Composition 2 (as artwork).
- Double click Composition 1 in the Assets Window to load it into the Scene Window.
- Create a Corner Pin.
- Uncheck Bind.
- Set the Width and Height to
600and800. - Move the Nulls to each corner of the Corner Pin Shape (use Bounding Box Viewport Snapping to help).
- Check Bind.
- Drag Composition 2 from the Assets Window into the Scene Window and drop it on to the Corner Pin (the Shape, not the Group) to make it a child of the Shape.
- With the Select tool, move the Nulls.
note
Check out some example Scenes from scenery.io.