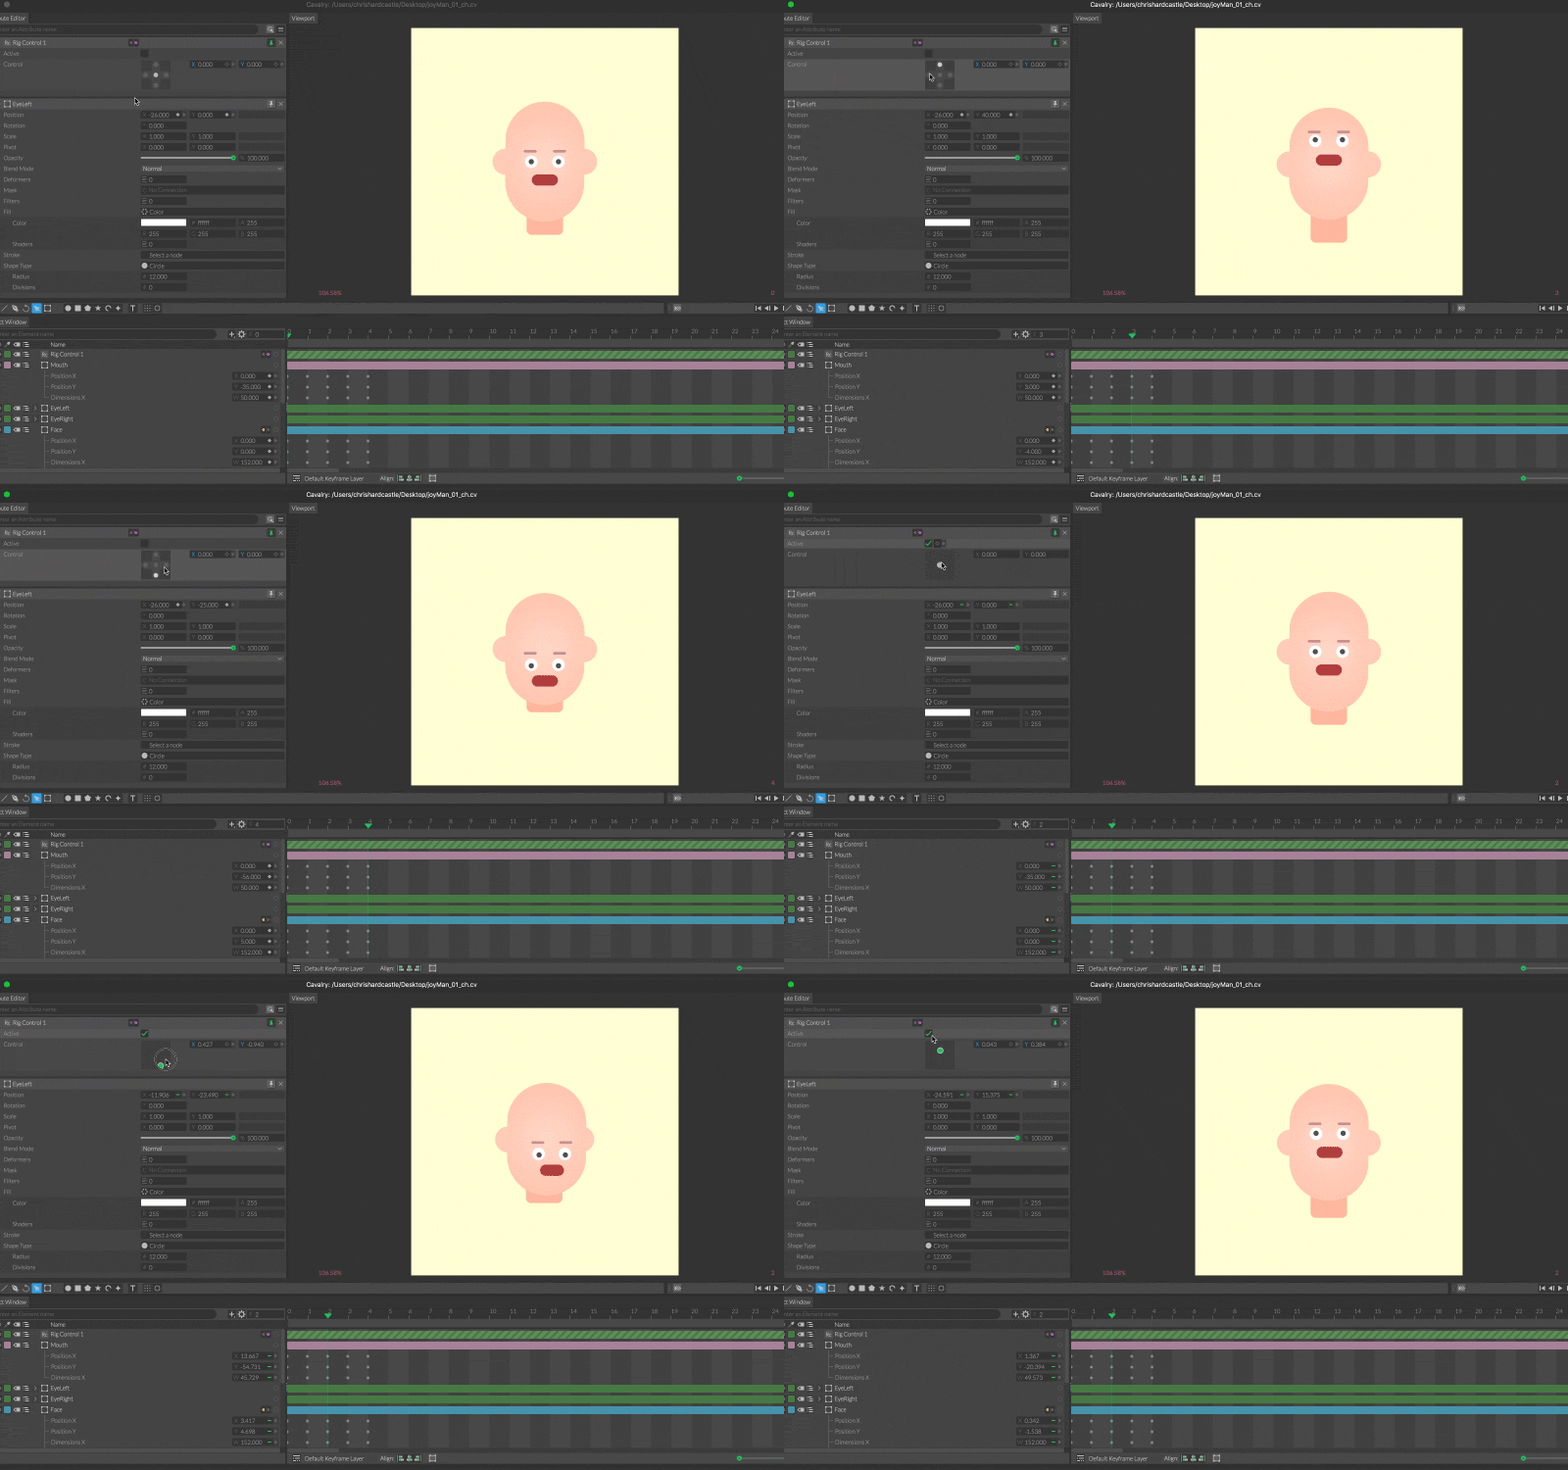
Rig Control
Intro
A 2d controller (or joystick by any other name) which can be used for pose-based rigging.
Keyframe Layers
The Rig Control uses a dedicated Keyframe Layer to set keyframes for the poses so that they can be set without affecting the main timeline.
UI
Active - Toggle the Control mode.
Control - This UI is dependent on the Active state:
- Active unchecked - This is the mode to set up the rig in. The five dots on the joystick represent the five keyframes necessary to set up the rig. Clicking each dot will move the timeline to the following corresponding frames:
- Centre (neutral pose) - Frame 0
- Left - Frame 1
- Right - Frame 2
- Top - Frame 3
- Bottom - Frame 4
- Active checked - This is the mode to animate the rig in. Moving the dot translates between the poses set in Inactive mode.
Example
- Create a Basic Shape and a Rig Control.
- Connect rigControl.id→basicShape.position.
- A new Keyframe Layer will be created and 5 keys set for you on frames 0-4.
- Set the following keys on the Basic Shape for Position [x,y]:
- Frame 0 = 0, 0
- Frame 1 = -50, 0
- Frame 2 = 50, 0
- Frame 3 = 0, 50
- Frame 4 = 0, -50
- Check Active on the Rig Control.
- Move the dot on the Control.
- To animate the rig, set the Keyframe Layer to Default and set keyframes by using the x, y controls.
See the demo scene in the Example Files.
